I honestly didn’t think much of the iPad Pro when it was initially announced on stage in late October. But upon watching the feature reel, one thing caught my eye and made me consider adding the iPad to my ecosystem of products for the first time: Photoshop CC. The video boasted power and performance that could support the full – that’s right, full – version of Photoshop. What’s more, the promise of Adobe releasing a full-featured Photoshop for the iPad signalled the change towards a promising future that would finally blur the lines between desktop and mobile computing.
Of course, Photoshop for the iPad isn’t actually going to be available until sometime in 2019 (as broad and ambiguous of a timeline as you can get) but that didn’t stop me from going down the rabbit hole of wondering whether the new iPad Pro, in all its glorious computing horsepower, could ever possibly replace my 13” Macbook Pro as my personal machine.
And of course, no personal computer would be complete without proper support for my photo editing workflow. I was already a supporter of Lightroom CC for mobile, but I wondered whether the iPad (or iOS, more specifically) was ready for the critical file management tasks – importing, organizing, exporting, etc – that go hand-in-hand with a photography workflow.
After a few weeks with the iPad Pro, here are my findings on what I consider, the best iPad Pro Lightroom photography workflow.
My Setup
- 12.9” iPad Pro. I chose the larger size for 2 reasons: one, I intend to replace my 13” Macbook Pro, so 12.9” is a comparable size; and two, I’m investing in a future with better apps and multi-tasking capabilities, where a larger screen is going to be more productive.
- Apple USB-C SD Card Reader. Nothing interesting about this dongle, just an essential piece to helping you import your photos from an SD card.
- Apple Smart Keyboard Folio. It’s hard to underline how much of a game changer this peripheral is. It truly bridges the gap between the iPad and the Macbook and makes the most annoying parts of a touch interface convenient again (moving a cursor, copy and pasting, etc). Not essential to the editing flow, but critical to getting the most out of your iPad in most other scenarios.
- Apple Pencil. This is a nice to have, but man is it fun to use. I prefer to use the pencil over my fingers but it’s absolutely not necessary.
Disclaimer: nothing in this post is sponsored or affiliated with Apple or Adobe! I’m just a productivity geek and these brands happen to make stuff that help me get things done. Product links are purely to help you all do your own research.
Importing
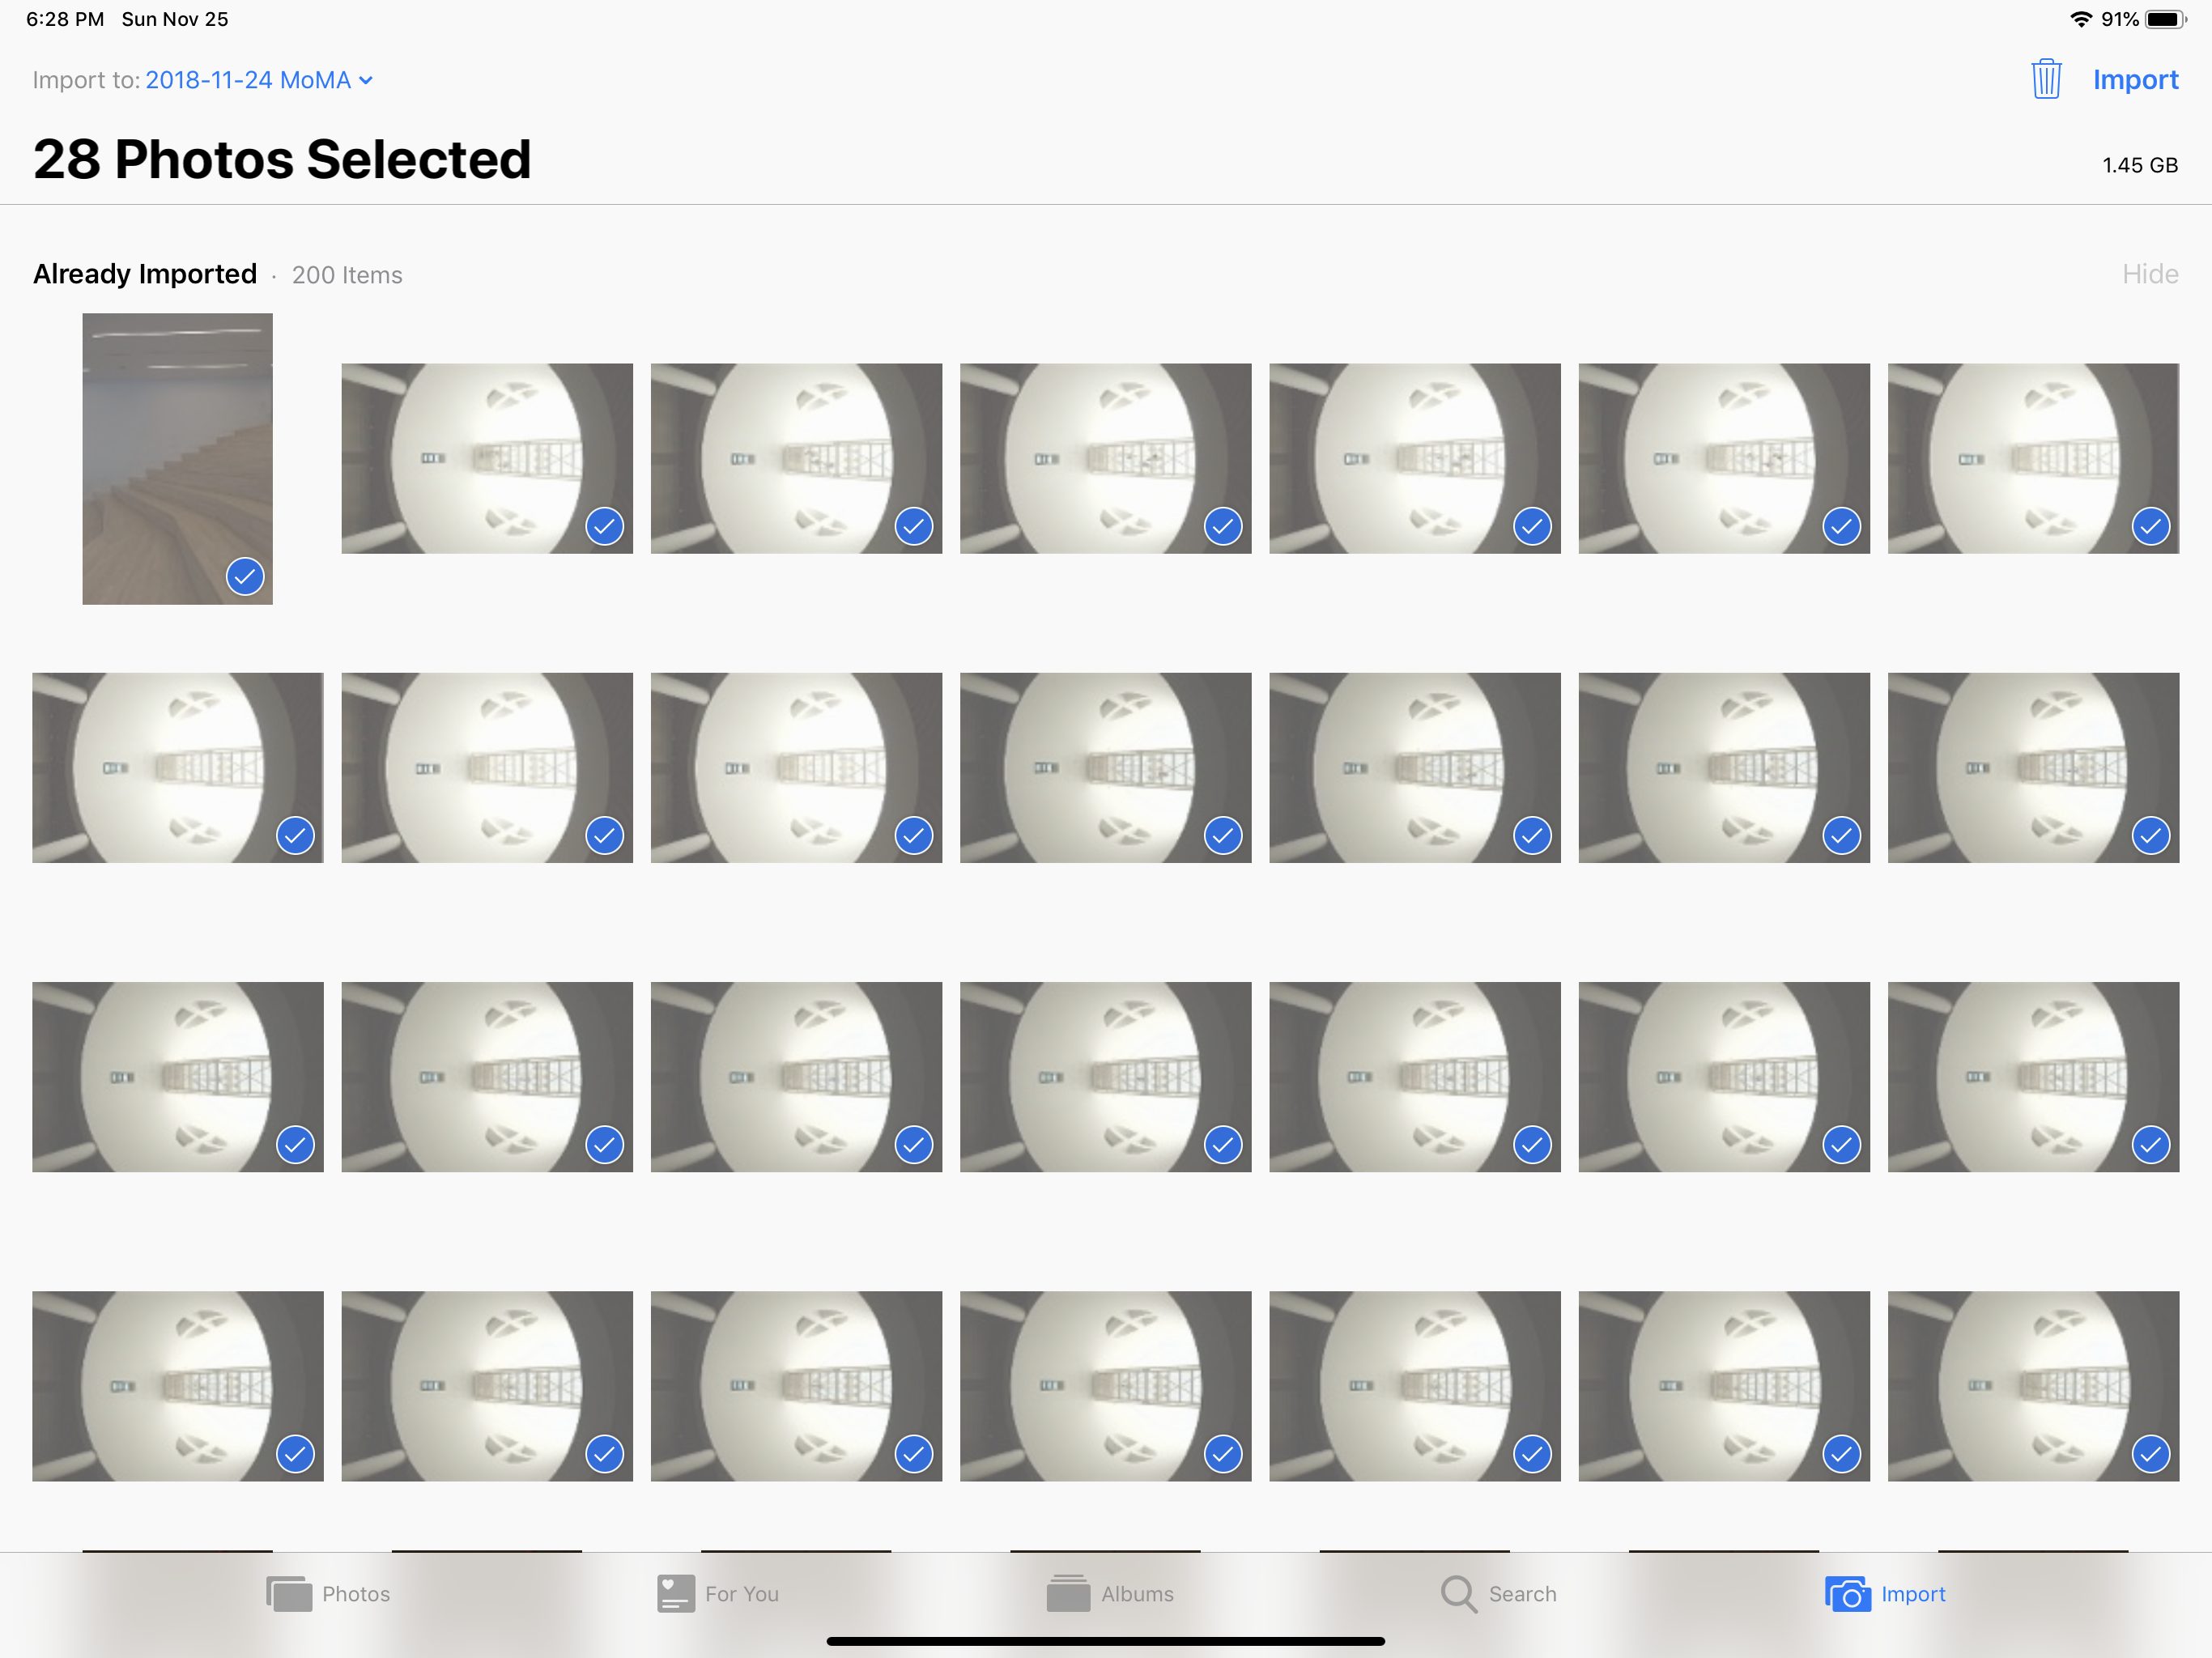
The importing flow is actually fairly simple. I plug in the SD Card Reader, plug in my SD card, and the Photos app will launch automatically with a new Import tab. From there I can Import All or just select the few I want with an option to remove or keep the imported photos on my card when done.
It’s worth mentioning that iOS currently only allows importing directly into the Photos app (rather than into Lightroom directly, for example). This is a bit of a limitation, but I’ve ended up embracing it rather than fighting it, as you’ll see further down this article.
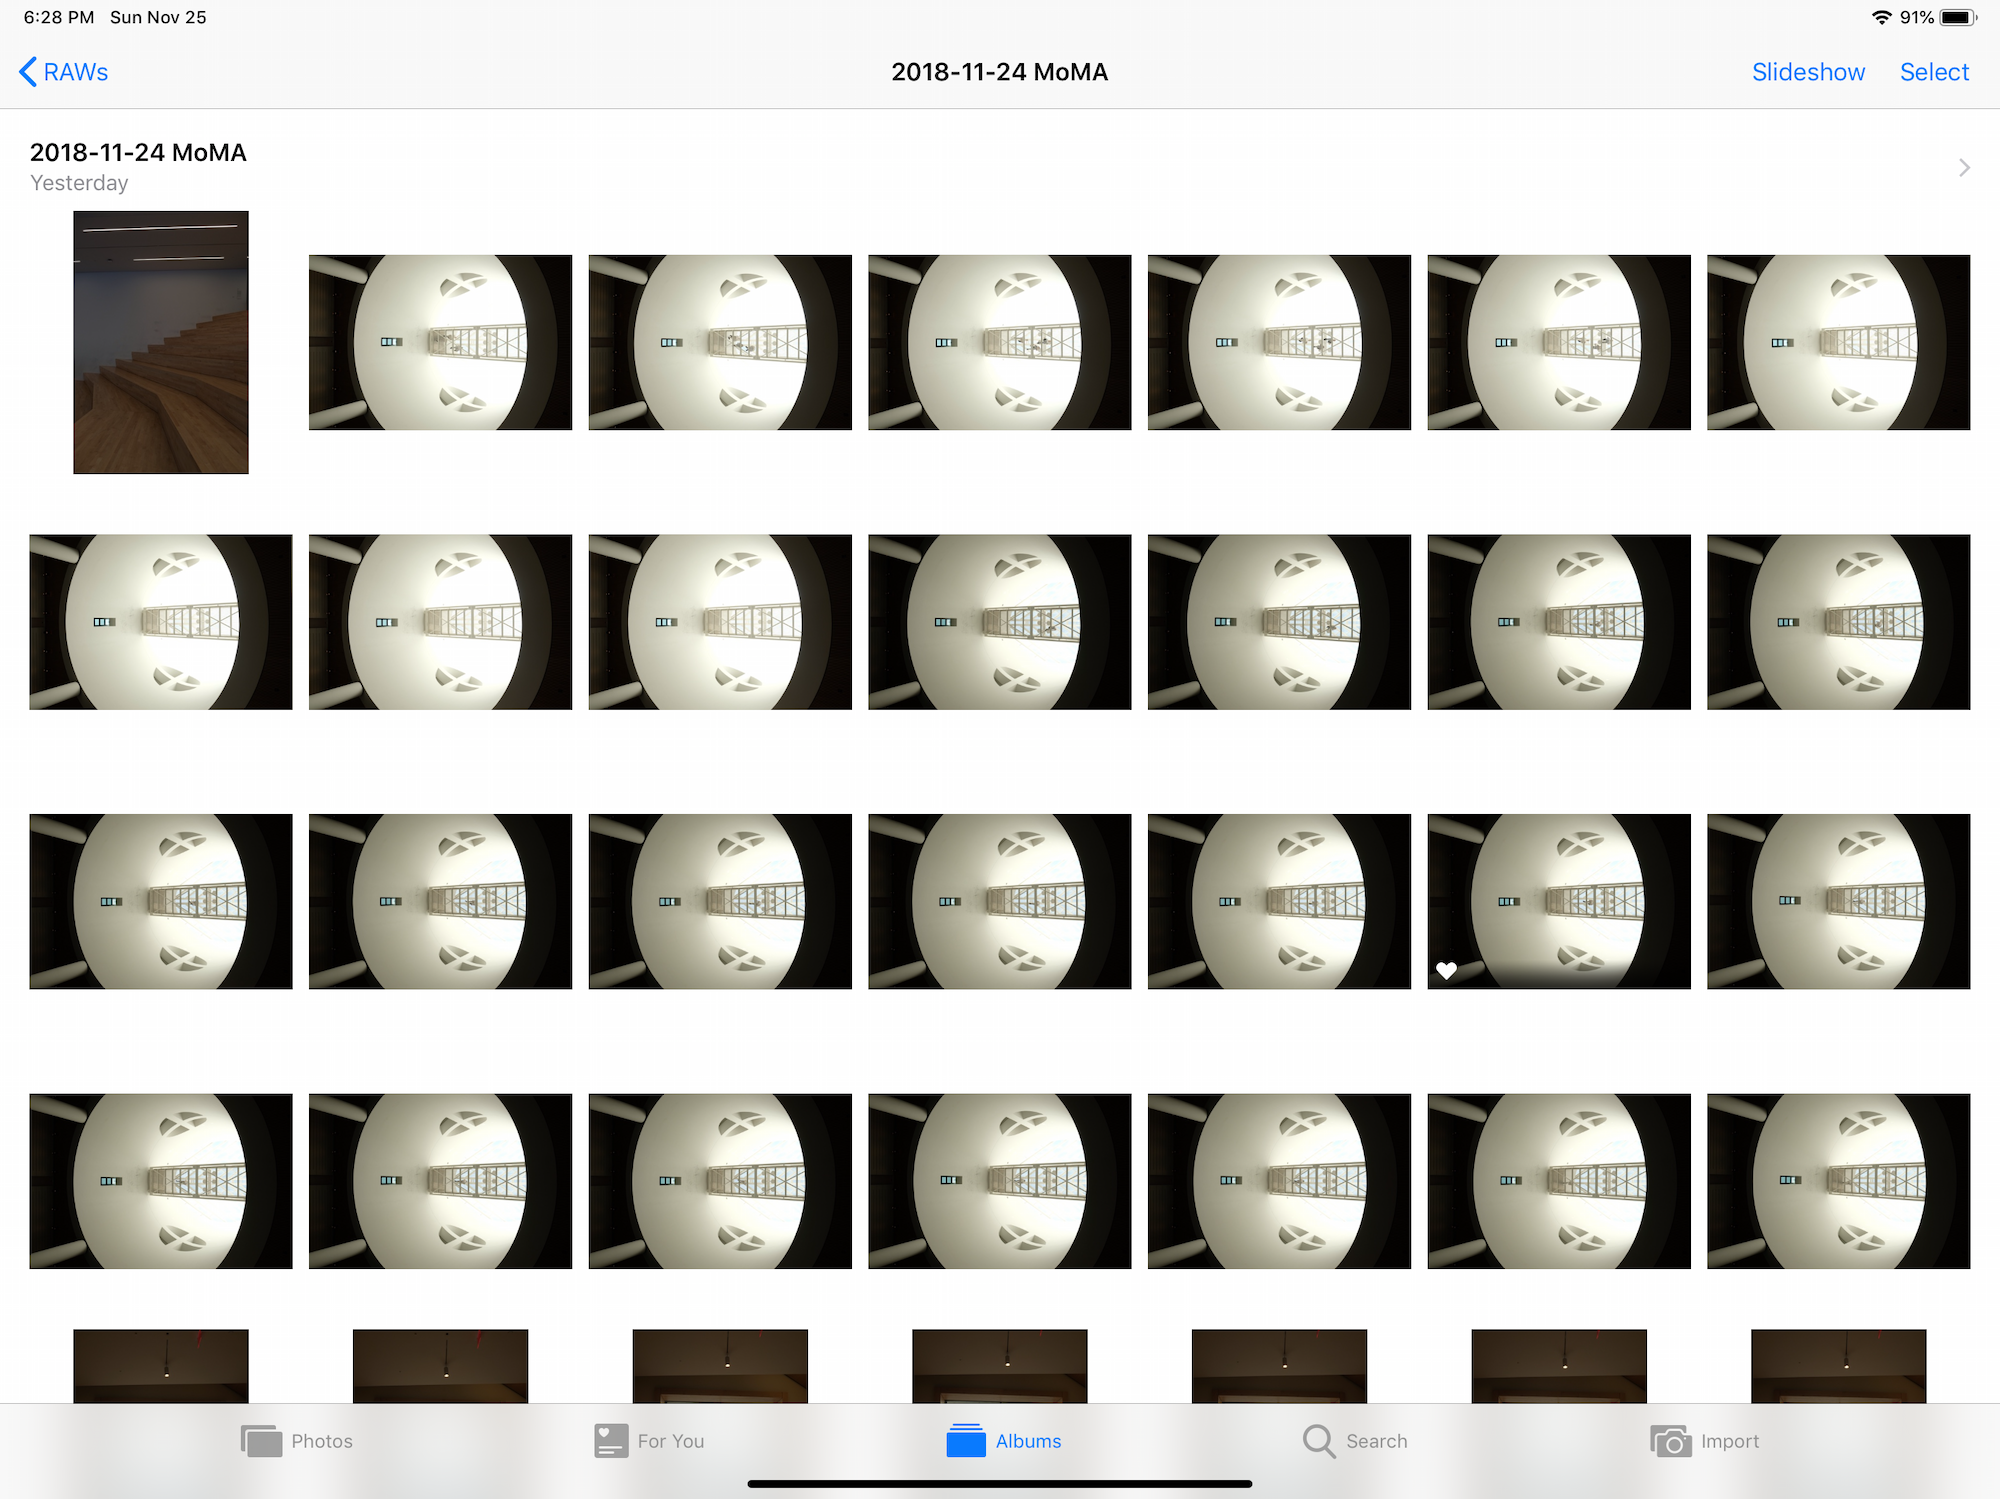
To keep my Photos app more organized, I create a new album for every new set of photos I import with the naming convention of YYYY-MM-DD Photo Set Title (e.g. 2018-11-24 MoMA).
Storage
To be honest, this whole exploration of whether the iPad could support a full photo editing workflow eventually just became an exercise of deciding where I wanted to store my photos. This is an important decision only because RAW files are notoriously large and will not only take time to upload to the cloud, but will quickly eat up storage space.
In the end, I decided to store my RAWs on iCloud via the Photos app. But it took a bit to arrive to that conclusion, so here's a quick breakdown of the considerations.
Photo Management on Desktop
For context, here is my photo management system on desktop:
- All raw photos are imported directly into an external drive (due to limited storage space on my laptop) via Lightroom
- My Lightroom catalog is also stored on this external drive (this means I need to plug in my external drive any time I want to edit photos)
- I choose my selects (the photos that I want to edit) directly in Lightroom using a star system (3 stars for selects, 5 stars for edited)
- I export my edited photos into a Dropbox folder (I use Selective Sync to keep only recent photo sets locally on my laptop)
This workflow doesn’t work for the iPad for one simple reason: the iPad doesn’t support external drives. This means that photos have to be stored on the device, in the cloud, or some combination of both.
Cloud Storage Options
- iCloud: this is the default option given that all photos have go through Photos (and therefore iCloud) either way.
- Dropbox: this was an intriguing option given that I’m already a big Dropbox user. Unfortunately, Dropbox doesn’t allow the upload of RAW files through its mobile app (it uploads them as images).
- Creative Cloud: this was also a good option given that it’s integrated into Lightroom and the workflow would align closely to what I was used to on desktop. I even created a Move RAWs to Lightroom iOS Shortcut that would allow me to open all my newly imported photos to Lightroom, and then delete them from Photos/iCloud. In the end though, I moved away from this option because 1) I don’t actively use Creative Cloud storage for anything and didn’t want to start investing in a new platform; and 2) Lightroom CC has a bug right now where it seems to crash after importing ~200 photos (which meant that I wouldn’t be able to import all my RAWs occasionally).
- Google Drive, Google Photos, + any other 3rd party platform: I didn’t look deep into these other options because I don’t currently use any of them, and because a 3rd party storage platform (including Dropbox) would inherently require a second import process (i.e. import to Photos, then import to Google Photos, and then likely delete the original photos from Photos so that you’re not doubling up on storage).
After weighing all the options, I decided to go with keeping my RAWs in Photos/iCloud. It wouldn’t require an extra import process, it takes up limited local storage space (because of iOS’ native storage management), it uploads silently in the background to iCloud, and automatically gets synced on all my devices. The only trade-off is that my All Photos album gets flooded with hundreds of near-duplicate RAWs (I burst my shots often...), but frankly, that was already the case because of the photos I take on my iPhone.
Selecting photos to edit
An important part of the editing workflow is choosing what photos to edit (often referred to as selects). The solution isn’t a complicated one: given that I was managing my RAWs in Photos, I decided to use the native favoriting feature to differentiate the ones I wanted to edit from the rest (I was already doing the same for photos I was taking on my iPhone).

Alternatively, I could have also selected the photos I wanted to edit and added them to a separate album, though favoriting is far faster and more flexible.
Importing to Lightroom
Once I have my selects marked as favorites in Photos, I simply need to select them all and add them to Lightroom. This is a little more tedious than it sounds, depending on which path I take:
- Select the photos from the album view. This is where I wish Photos had a way to filter favorites, but alas, I’m forced to manually scroll and tap all the photos I’ve favorited. I would then use my Edit in Lightroom iOS Shortcut to open them in Lightroom.
- Select the photos from the Favorites album. This is probably faster than the previous option since the photos aren’t all spread out. I simply need to select the full batch of the latest favorites, and again, use my Edit in Lightroom iOS Shortcut.
- Select the photos from Lightroom. This option feels slow to me because I find browsing through albums in Lightroom clunky. I also can’t see what photos have been favorited so I need to go directly to the Favorites album to select the photos I want to edit.
This was all a long winded way of saying that I found this workflow slow and tedious, so I created a new iOS Shortcut that will import the favorited photos from your last import (i.e. the batch of photos you last imported). Install the Shortcut and save yourself a few taps.

Editing in Lightroom
The rest from here is as you’d expect it to be. I will say though, editing on the iPad Pro feels mildly magical. There’s something about the nature of photo editing that makes a touchscreen interface feel like the most natural medium to do it with.
iPad Pro Lightroom Edit TimelapseTaking Lightroom for a test drive on my new iPad Pro. Touchscreen editing is magical. ✨
Posted by Verne Ho Photography on Monday, November 26, 2018
Lightroom CC still has some ways to go to be as full-featured as Lightroom Classic CC, but I have high hopes that it’ll continue to evolve quickly (hopefully within the same timeframe as the release of the full version of Photoshop for iPad).
And if you're looking for a versatile set of Lightroom presets that work perfectly for your mobile editing workflow, here are a few worth checking out.
Exporting my edited photos
Exporting is also relatively simple. Edited photos I’m going to post on Instagram or that I want available on my phone are simply exported using the Save to Camera Roll share option.
Lightroom CC also has a Save to Files option, so as long you have a 3rd party storage platform like Dropbox or Google Drive connected to the native Files app, you can export photos there too (I export entire set of edited photos to Dropbox). The only downside is that that the Save to Files workflow doesn’t give you an option to create new folders, so you’ll have to do that elsewhere beforehand.

Closing thoughts
What started as one of my biggest concerns about switching to an iPad Pro as my primary machine is now a workflow I feel really confident about. Once I transitioned my mental model away from storing all my RAWs in Lightroom and embraced the iPad’s natural relationship with iCloud, the rest was fairly simple.
There’s still more that’s needed to make the iPad Pro a truly autonomous machine, but I’ve been pleasantly surprised by its ability to accomplish the majority of my needed tasks (with design work still being a massive exception). Thankfully, with trusty workflows ironed out, any remaining limitations stem primarily from the apps and iOS itself. I’m looking forward to seeing both evolve dramatically in the coming year.
Resources
Here’s a list of the apps, services, and resources that I’ve mentioned in this article that help support my workflow.
- Edit in Lightroom iOS Shortcut
- Edit Favorites to Lightroom iOS Shortcut
- Move RAWs to Lightroom iOS Shortcut (if you prefer to store your RAWs in Lightroom/Creative Cloud)
- iCloud Plan
- Lightroom CC for iPad (and Creative Cloud account)
Questions?
If you have any follow up questions, don’t hesitate to leave a comment or message me directly!
Happy editing!
Hi, thanks for sharing your iPad based workflow. In the meantime since iOS 12.2 iPad Pros supports external drives so do you think your workflow should be revised in some points? What do you advice? Thank you. Regards.
I’ll be interested to learn if you’re going to revisit this workflow in the light of the Files improvements coming in iPadOS 13 that were announced at WWDC.
Western digital has a wireless external harddrive that you can use for photo storage and has an sd card reader as well built in. There is a 4tb model for under 200 dollars. That is probably the route I will go for photo storage. So there is an external hard drive solution for people using iPad. They also have ssd models that are of course quite a bit more expensive but that is an option as well.
I need to find a reader for the new ipad usb c model for reading compact flash cards. I have an older canon 5d mark ii. Thanks
Apple photos / Camera Roll changes filename on import. If your travelling light with just an iPad and a backup drive this can be very annoying.