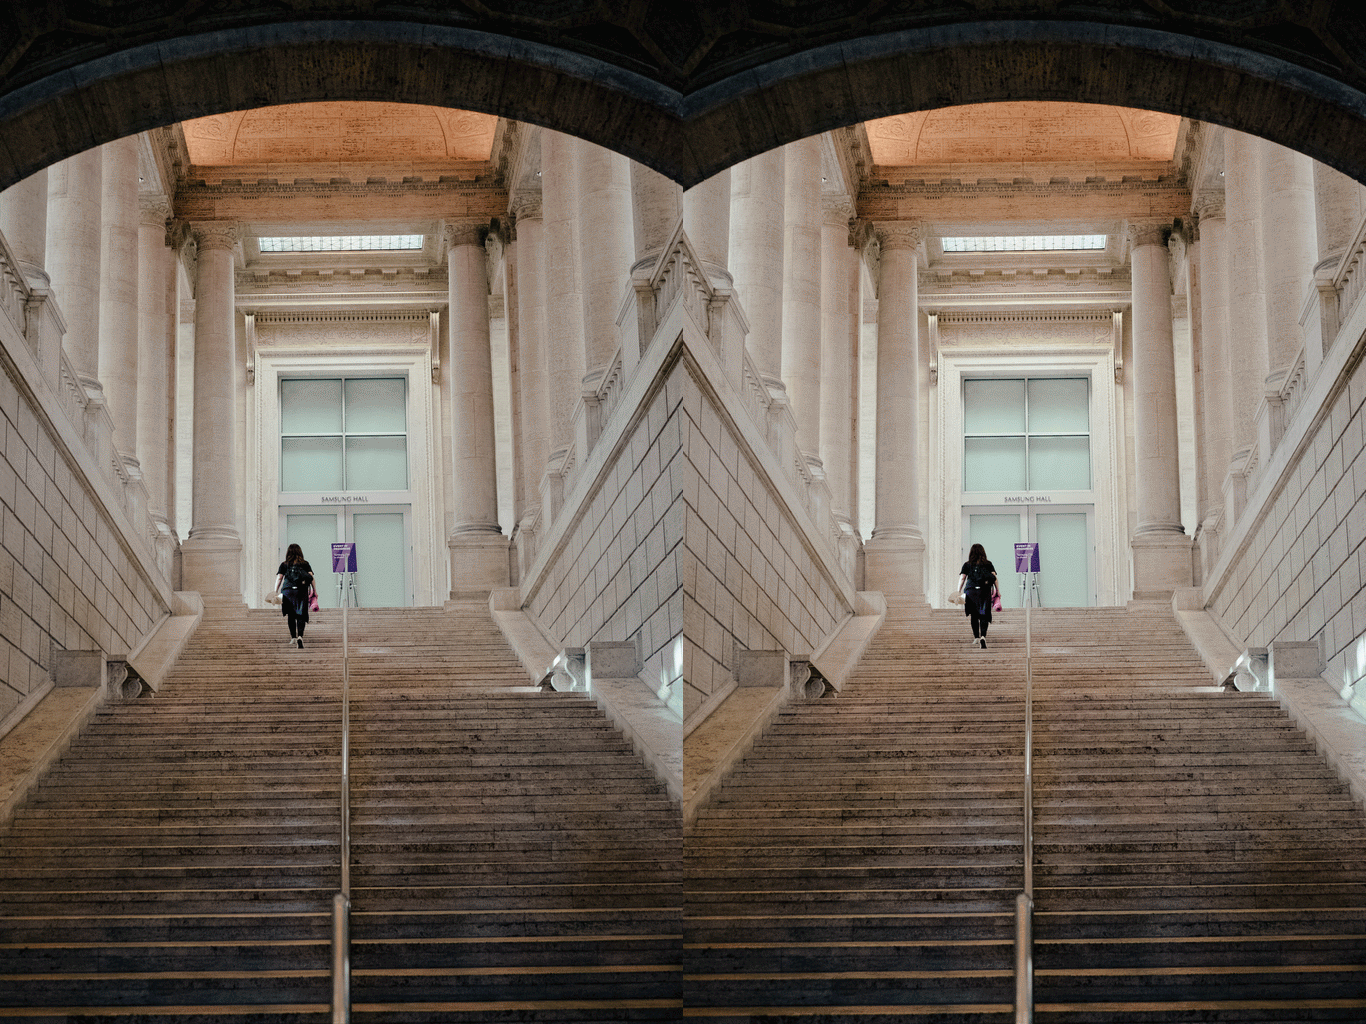
I'm a creature of habit and if you've paid close attention to my previous tutorials, you'll know that I usually follow the same steps to edit every photo I create. This is also how I'm able to maintain a collection of work that looks consistent and cohesive together, which is important as you try to define your own creative signature.
Here's a breakdown of the edits that I most commonly make on every photo in Adobe Lightroom.
1. Choose a preset
Presets are an obvious first step since they set the foundation for the style adjustments you'll make next. This is the same advice I'd give regardless of what preset you use. But if you're looking for some presets to start with, you can't go wrong with these. ;)

Before and after applying VHP 02 Base.
2. Adjust the Exposure, Highlights, and Shadows

Next, I'll move over to the Basic panel. More specifically though, I typically only make adjustments to Exposure, Highlights, and Shadows. Especially when I use VHP presets (which naturally, I always do), I know that everything else (Contrast, Whites, Blacks, Saturation, Vibrance, Clarity) is already set exactly as I want them. However, depending on the type of look I'm going for or how the photo was shot, my settings for Exposure, Highlights, and Shadows could vary quite a bit.
For example, I often underexpose when I shoot, which means I typically have to bring the Exposure up a little when I'm editing. If it was bright and sunny day, I may bring the Highlights down a bit, and if there were a lot of dark shadows, I may raise the Shadows up.

Before and after making adjustments to Exposure, Highlights, and Shadows.
3. Tweak the White Balance

With the Basic settings in a good place, I'll focus on white balancing next. Whether you use the White Balance Selector or manually adjust the Temperature and Tint, there is no exact science to how you white balance your shot. Your main objective at this stage is to adjust the colors of your shot to your liking.

Alternating between different White Balance adjustments to find the right color balance.
Leaving White Balance on auto may work occasionally, but the results will vary quite a bit again depending on how you shot the photo. So more often than not, I find I need to make at least a few small tweaks to White Balance before I'm happy with things.
4. Transform the perspective

My personal preference is to straighten the lines and correct the perspective of my shots wherever possible. This helps me achieve a stronger sense of scale and symmetry, while also making the shot cleaner and more pleasing to the eye. This is why Transform adjustments are part of every edit I do.

Before and after straightening lines and correct perspective with Transform adjustments.
5. Add Graduated and Radial Filters

Both of these local adjustment filters are consistently used to add finishing touches to nearly every photo I edit. A Graduated Filters is typically used to fade a shadow from the bottom of the shot up towards the focal point. I then place one or more Radial Filters on the focal point of the shot and will raise the exposure subtly and add some additional clarity and sharpness.
Both filters are used to help your eyes focus on the right part of the photo by applying some simple visual tricks. Since eyes are naturally drawn to brighter and sharper details, the darkened outer edges created by the Graduated Filter combined with the slightly brighter and sharper area created by the Radial Filter will help draw the eyes towards the right focal point.

Before and after applying Graduated and Radial Filters.
6. Bonus: Adjust the HSL/Colors

An optional set of edits I've started making more frequently lately is within the HSL (Hue, Saturation, Luminance) or Color panel. Here, I'll usually tweak the hue, saturation, and luminance of specific colors found in the photo. In the case of this example, I've desaturated the oranges, blues, and yellows a bit, and made subtle adjustments to the purple and blue hues to give it a more cinematic look.

Before and after making colors adjustments with the HSL/Color panel.
How much you want to alter the colors is solely dependent on your own style and taste and what look you're going after. Do what looks and feels right to you!
End-to-end
Here's the full end-to-end edit of this edit starting from the raw shot to the final image. These 5 edits (or 6 if you include the bonus step) are consistently what I start with every time I edit a new photo. In most cases, they're the only edits I need to make (like in the case of the example photo).

Following a consistent set of steps is a great way to create a unique and cohesive look across all of your photos and also speeds up your editing process a great deal. A shot like this, for example, should take me no more than a few minutes from start to finish.
What edits do you make to every one of your photos? Let me know in the comments or message me directly on Instagram!
Muchas gracias. ?Como puedo iniciar sesion?
Muchas gracias. ?Como puedo iniciar sesion?
This image editing is simply amazing. Thank you for sharing it with us, I’ll definitely be using it in the future.